Change Editor Theme for Code::Blocks
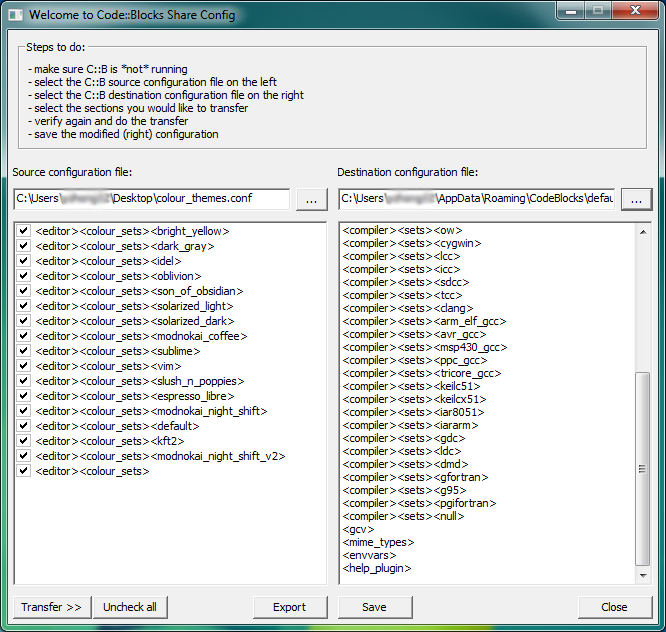
There are a lot of pre-defined color themes in this wiki page: Syntax highlighting custom color themes. In this blog, I will show how to use these themes in Code::Block under different platforms (Windows/Linux/Mac). Download the Download the colour_themes.conf file. For Windows, make sure Code::Block is closed, and then run cb_share_config.exe. It should be under the folder where you install Code::Block. Load colour_themes.conf on your left and default.conf on your right. Select the themes that you want to import to Code::Block by clicking the check boxes on the left and then select Transfer> and Save. I will recommend selecting them all. Under Linux, just type sudo cb_share_config under terminal to launch cv_share_config. Under Mac, default.conf is located at:~/Library/Application Support/codeblocks/default.conf
And cb_share_config is under:
CodeBlocks.app/Contents/MacOS/cb_share_config. Hint: The
Library folder is by default hidden by the most recent version of Mac OX.
You could either use COMMAND+SHIFT+G to navigate to hidden folders or make the folder visible with command chflags nohidden Library.
Thanks to the comments from Pawas and Travis.
 Open Code::Block.
Go to Settings > Editor > Syntax highlighting.
All the themes that you imported will be available under the color theme drop list.
 After changing the theme, you may notice that the insertion bar become hard to see if you use a dark background.
But you can modify the color of the insertion bar under: Settings > Editor… > Margins and caret.
Change the color of the caret to some brighter colors.

[Code::Blocks] Compile 64-bit under windows with MinGW-w64
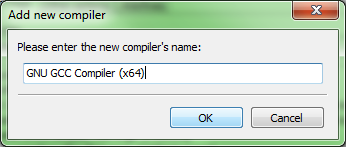
One of the great benefits of using Code::Block is that it is super easy to switch between compilers. In this blog, it shows how to add MinGW-w64 (GNU for Windows) to code blog and use it to compile a 64-bit program. 1. Install MINGW64 Download and install MinGW-w64. Assume that you install it under C:\mingw64. 2. Set up compiler Open Code::Block. Go to Settings > Compiler. Under the drop down list of selected compiler, the GNU GCC Compiler should be selected by default. We will copy the settings of this compiler and then modify it. Click on Copy and give a new name for the compiler that you are going to set up. You can name it whatever you want (e.g. GNU GCC Compiler (x64)). One last step, you need to update the toolchain under the tab Toolchain executables.
Modify the compiler’s installation directory to the directory of MinGW64 (e.g C:\mingw64).
Also update the following under Program Files:
C compiler: x86_64-w64-mingw32-gcc.exe
One last step, you need to update the toolchain under the tab Toolchain executables.
Modify the compiler’s installation directory to the directory of MinGW64 (e.g C:\mingw64).
Also update the following under Program Files:
C compiler: x86_64-w64-mingw32-gcc.exeC++ compiler: x86_64-w64-mingw32-g++.exe
Linker for dynamic libs: x86_64-w64-mingw32-g++.exe
Linker for static libs: x86_64-w64-mingw32-gcc-ar.exe
 Now you can go ahead to use this compiler to compiler your program.
3. Set up debugger
With the above steps, you won’t be able to debug your program yet.
You will probably get the following error message:
Starting the debuggee failed: No executable specified, use `target exec’.
Debugger finished with status 0
Now you have to set up the debugger under Settings > Debugger….
Select on GDB/CDB debgger, and Create Config.
In the popup window, enter the name for the configuration.
I am calling it gdb64 here.
Under Executable path, select the corresponding gdb debugger for mingw64.
 Finally, go back to the toolchain page for GNU GCC Compiler (x64), and switch the debugger to gdb64.